Management Manual
-
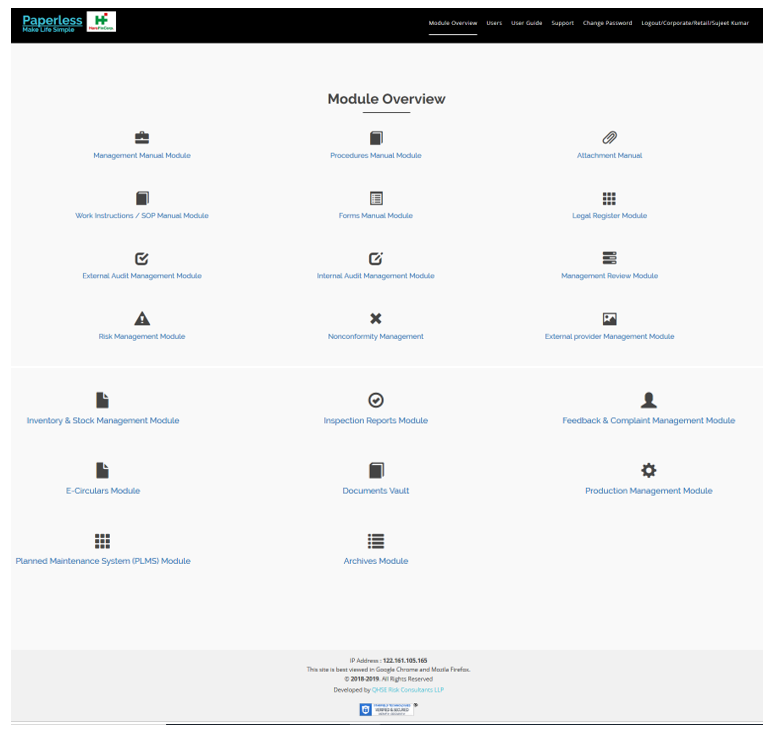
Opening management manual
- Click on the “Module Overview” at the navigation bar
- Following page will open
- Click on “Management Manual Module”
-
Management manual dashboard
- View Master List by clicking ‘Master List’
- You can edit the manual by clicking on ‘Edit Contents’
- You can view the manual by clicking on the

- You can edit the header and footer of the manual by clicking on ‘Edit Header/Footer’
- You can save your manual by clicking on ‘Save Now’
- You can publish your manual by clicking on ‘Publish Now’
- You can add new manual by clicking on ‘Add New Manual’
-
Creating / Editing the cover page
- Click on ‘Edit Contents’ at the dashboard
- The cover page will open up
- You can create / edit the cover page by clicking on ‘Create Cover Page’
- Fill up the relevant details
- Choose background colour and gradients
- Upload the cover banner / image by clicking on ‘Browse’ and choosing the image
- The image will showup on the right side panel
- Submit your details
-
Creating / Editing the title page (2nd page)
- Click on ‘Edit Contents’ at the dashboard
- The cover page will open up
- Scroll down till you see the title page
- Start creating / editing the title page by clicking on ‘Edit Title Page’
- Fill up the relevant details
- Submit your details
- The title page / 2nd page will be updated to your requirements
-
Adding a new section or chapter in the management manual
- Click on ‘Edit Contents’ at the dashboard
- The cover page will open up
- Scroll down till you see the ‘Master List- Management Manual’ page
- You can add a new section or chapter by clicking on ‘Add New Section / Chapter’ at the right hand top corner
- A fresh page will open up showing the blank ‘Add New Section / Chapter on the left panel and ‘Master List’ on the right panel
- Choose the category from the drop-down menu
- Write the title no
- Write the title
- Choose the section in which you want to insert or add the new chapter from the drop-down menu of ‘To be inserted in’
- Submit your details
- The new chapter will be added and show up under the chosen section at the right side panel
-
Editing the contents of management manual
- Click on ‘Edit Contents’ at the dashboard
- The cover page will open up
- Keep scrolling down till you see the ‘Master List- Management Manual’ page
- You can edit any section or chapter by clicking on ‘Edit Contents’
- A page will open up showing two panels
- The ‘Edit Content’ panel will be on the left showing the chosen section or chapter which you want to edit
- The ‘Edit Approval Sheet’ will be on the right panel where you can get your approvals signed off
- You can edit / update the content at the left panel by editing / updating the various data / information
- While updating the content remember to highlight the new content in Italics
- Use the excellent features of the editor to make your content attractive.
- You can also copy and paste directly from any ‘word’ or ‘excel’ document
- Submit your details upon completion
- An alert box will show up. Click ‘OK’ to save the edited contents
- Another alert box will show up reminding you if you have followed the protocol of highlighting the newly added content in Italics. If this has been done then click ‘OK’. And the contents will be saved
- If not done then you should ‘Cancel’ and go back to follow the protocol and repeat the process
-
Getting the Approval Sheet signed off
- Once the contents are updated you can get the ‘Approval Sheet’ signed off by various users / approving authorities who can login from their individual ID’s and Password’s and give approval after going thru the contents at the left panel and signing off at the right panel
- The users can then submit their approval by clicking on ‘Submit’
- An alert box will show up. Click ‘OK’ to accept
- A page will then open up displaying all the details with signatures
- If you agree then click ‘Submit’
- The approval sheet will be saved will all details
-
Viewing the Master List
- Click on ‘View Master List’ at the dashboard
- The master list page will show up
-
Viewing the ‘Management Manual’
- Click on at the dashboard to view the manual
- The cover page of the manual will open first
- To view the entire manual page by page keep on clicking ‘Next’
- Click ‘Previous’ to go to previous page
- After clicking ‘Next’ when you see the ‘Table of Contents’, click on the drop-down menu and choose / click to view any section or chapter of your choice
- The relevant section or chapter will then open up
- Click on
-
Editing the header and footer of the manual
- Click on ‘Edit Header / Footer’ at the dashboard to edit the header and footer of the manual
- ‘Edit Manual Header Details’ and ‘Edit Manual Footer Details’ page will show up
- Fill / change / amend the details as required
- The number of times the manual has been revised is generated automatically and displayed under ‘Revised’ and cannot be amended
- Upload the logos as per your choice
- Update your details to save the data entered
-
Saving the management manual
- Every time you amend your manual it is recommended to save it immediately
- Click on
 at the dashboard to save the manual
 - Click ‘OK’ in the alert box if you agree to save the manual
- The manual will be saved
- The last saved date and time will be shown in the dashboard
- The name of user who saved it last will be shown in the dashboard
-
Publishing the management manual
- Once your manual is ready for release you should publish it
- Please remember that once you publish the manual no amendments or changes can be done
- Click on
 at the dashboard to publish the manual click here
 - Click ‘OK’ in the alert box if you agree with the statement in the alert box
- Click ‘OK’ again if you finally agree to publish the manual
- The manual will be published
- A new page will open up where you can choose to send email to all the users as per your choice by checking the box against their names at the right-side panel
- You can also choose to send email to any other third party by entering their email ID’s at the left-side panel
- Click on ‘Send Email’
- The emails will be sent to all chosen recipients
- Click on ‘Go to Dashboard’
- The published date and time will be shown in the dashboard
- The name of user who published it will be shown in the dashboard
- The previous manual will be automatically archived and can be sighted in the Archives module